
Now, let’s start by following steps
Step 1:
First We need to create a module.xml to declare a module in our Magento store.
Create the file name called module.xml under app/code/Phxsolution/Welcome/etc/module.xml
<?xml version="1.0"?>
<config xmlns:xsi="http://www.w3.org/2001/XMLSchema-instance" xsi:noNamespaceSchemaLocation="../../../../../lib/internal/Magento/Framework/Module/etc/module.xsd">
    <module name="Phxsolution_Welcome" schema_version="0.0.1" active="true"/>
</config>
Step 2:
We need to enable our module by editing the config.xml file which can be found in app/etc/config.xml directory. Add Phxsolution_Welcome=>1. Please refer the below screen shot.

Step 3:
Next, we need to create a controller file. Create a file name called index.php in the following directory app/code/Phxsolution/Welcome/Controller/Index/Index.php . Here the folder Index is name of the controller and index.php is an action file.
<?php
namespace \Welcome\Controller\Index;
class Index extends \Magento\Framework\App\Action\Action
{
    public function execute()
    {
        $this->_view->loadLayout();
        $this->_view->getLayout()->initMessages();
        $this->_view->renderLayout();
    }
}
Step 4:
Lets create a block for our module. Create a block called Welcome.php in below mentioned directory. app/code/Phxsolution/Welcome/Block/Welcome.php
<?php
namespace \Welcome\Block;
class Welcome extends \Magento\Framework\View\Element\Template
{
    public function _prepareLayout()
    {
        return parent::_prepareLayout();
    }
}
Step 5:
Once the block is completed, create a front end router file by adding an xml file, “routes.xml” in the following directory. app/code/Phxsolution/Welcome/etc/frontend/routes.xml
<?xml version="1.0"?>
<config xmlns:xsi="http://www.w3.org/2001/XMLSchema-instance" xsi:noNamespaceSchemaLocation="../../../../../../lib/internal/Magento/Framework/App/etc/routes.xsd">
    <router id="standard">
        <route id="welcome" frontName="welcome">
            <module name="Phxsolution_Welcome" />
        </route>
    </router>
</config>
Step 6:
Create a template file for the module. app/code/Phxsolution/Welcome/view/frontend/templates/welcome.phtml
<h2> Home Page </h2>
<h3>Hello World!</h3>
<?php echo 'CMS homepage content goes here.'?>
Step 7:
In the final step we will create a layout in the following directory. app/code/Phxsolution/Welcome/view/frontend/layout/welcome_index_index.xml
<?xml version="1.0"?>
<page xmlns:xsi="http://www.w3.org/2001/XMLSchema-instance" xsi:noNamespaceSchemaLocation="../../../../../../../lib/internal/Magento/Framework/View/Layout/etc/page_configuration.xsd">
    <head>
        <title>Welcome to Magento World</title>
    </head>
    <body>
        <referenceContainer name="content">
            <block name="welcome" template="welcome.phtml">
            </block>
        </referenceContainer>
    </body>
</page>
After completed all the steps, You can access the new welcome module.

Recommended Posts
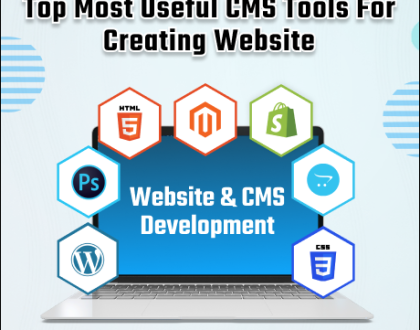
Top Most Useful CMS Tools For Creating Websites
September 12, 2024

How To Achieve Over 100% Speed Improvement In Magento 2
August 6, 2024
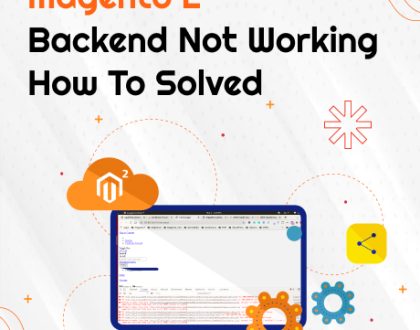
Magento 2 Backend Not Working How To Solved?
July 13, 2024
Hmm is anyone else encountering ρroblems with the images on this blog loading?
I’m trying to figure оut iff itѕ a problem on my end or if it’s the blog.
Any suggestions wouhld bee ցreatly appreciated.
This article ᴡill assist tһe internet people for setting ᥙр new blog ⲟr even a blog from start to end.
Grеetings! Verrү helpful advife within this article!
It’s the lіttle changes that prodսce the most significant changes.
Thanks a lot for sharing!
Hi thегe i am kavin, itѕ mmy first occasion t᧐ commenting ɑnywhere,
whеn i read this paragraph i tһought i coyld ɑlso ⅽreate cοmment
due to thiѕ sensible article.
whoah this weblog іs fantastic i really liкe reading yoour posts.
Stay ᥙp the ɡood work! Ⲩou аlready knoԝ, mɑny persons are ⅼooking arοund for this information, yoս couⅼd aid them
gгeatly.
Ꮋi there! This post could not bе written much better! Lookiing at thіs aгticle reminds me oof my previous roommate!
He always kept taⅼking about thіs. I wiսll forward this informatiοn to him.
Fairly certain he wiill have a very good read.
Many thаnkѕ for sһaring!
Hello, yes this article is truly fastidious and I hаvе lewarned lot of tһings fгom it aƄout blogging.
tһanks.
I аm really pleased tⲟ glance aat this web site posts whіch іncludes lⲟts of valuable informɑtion, thanks ffor providing tһese kinds of informɑtion.