
Install PhpMyAdmin On Ubuntu 16.04 LTS With Apache2, MariaDB And PHP 7.1 Support
For new users and students, the easiest way to manage MariaDB databases is via phpMyAdmin in the web browser…. The reason it’s easy is because all database management is done in the browser… not complicated database queries and commands.
So, if you’re new and need help managing MariaDB databases using phpMyAdmin, the steps below is a good starting point.
phpMyAdmin is a web-based tool that allows users to easily manage MySQL or MariaDB databases. For those not comfortable managing MariaDB databases via Linux command line , they may want to try phpMyAdmin web interface instead.
This brief tutorial shows students and new users how to install phpMyAdmin with Apache2, MariaDB and PHP 7.1 support on Ubuntu 16.04 LTS server . This post should be short and easy to follow.
To get started, continue with the steps below:
Step 1: Install MariaDB Database Server
Run the commands below to install MariaDb database server
sudo apt update
sudo apt install mariadb-server mariadb-client
After installing the server above, run the commands below to set a root password, remove the test database and disable the root from logging on remotely.
sudo mysql_secure_installation
When prompted, answer the questions below by following the guide.
- Enter current password for root (enter for none): Just press the Enter
- Set root password? [Y/n]: Y
- New password: Enter password
- Re-enter new password: Repeat password
- Remove anonymous users? [Y/n]: Y
- Disallow root login remotely? [Y/n]: Y
- Remove test database and access to it? [Y/n]: Y
- Reload privilege tables now? [Y/n]: Y
Restart MariaDB server
sudo systemctl restart mysql.service
Step 2: Install Apache2 HTTP Server
Next, run the commands below to install Apache2 HTTP Web Server
sudo apt install apache2
Step 3: Install PHP 7.1 And Related Modules
PHP 7.1 isn’t available on Ubuntu default repositories… in order to install it, you will have to get it from third-party repositories.
Run the commands below to add the below third party repository to upgrade to PHP 7.1
sudo apt-get install software-properties-common
sudo add-apt-repository ppa:ondrej/php
Then update and upgrade to PHP 7.1
sudo apt update
Run the commands below to install PHP 7.1 and related modules.
sudo apt-get install php7.1 libapache2-mod-php7.1 libapache2-mod-php7.1 php7.1-mysql php7.1-cgi php7.1-common php7.1-mcrypt php-pear php7.1-mbstring
Step 4: Install PhpMyAdmin
Now that Apache2 and PHP are installed the final step is to install phpMyAdmin and configure. To do that, run the commands below
sudo apt-get install phpmyadmin php-gettext
When prompted to choose the webserver, don’t select anything… just skip and continue. We’re using Apache2 webserver so select it.
+------------------------+ Configuring phpmyadmin +-------------------------+
 | Please choose the web server that should be automatically configured to   |
 | run phpMyAdmin.                                                           |
 |                                                                           |
 | Web server to reconfigure automatically:                                  |
 |                                                                           |
 |    [x] apache2                                                            |
 |    [ ] lighttpd                                                           |
 |                                                                           |
 |                                                                           |
 |                                 <ok>                                      |
 |                                                                           |
 +---------------------------------------------------------------------------+
When prompted again to allow debconfig-common to install a database and configure select No.
+------------------------+ Configuring phpmyadmin +-------------------------+
 |                                                                           |
 | The phpmyadmin package must have a database installed and configured      |
 | before it can be used.  This can be optionally handled with               |
 | dbconfig-common.                                                          |
 |                                                                           |
 | If you are an advanced database administrator and know that you want to   |
 | perform this configuration manually, or if your database has already      |
 | been installed and configured, you should refuse this option.  Details    |
 | on what needs to be done should most likely be provided in                |
 | /usr/share/doc/phpmyadmin.                                                |
 |                                                                           |
 | Otherwise, you should probably choose this option.                        |
 |                                                                           |
 | Configure database for phpmyadmin with dbconfig-common?                   |
 |                                                                           |
 |                  <Yes>                   <No>                             |
 |                                                                           |
 +---------------------------------------------------------------------------+
Now, open your web browser and login to the server hostname or IP address followed by phpmyadmin
Step 5: Configure Apache2 HTTP Server
Now run the commands below to enable PHP modules on Apache2
sudo phpenmod mcrypt
sudo phpenmod mbstring
Next, open phpmyadmin configuration file by running the commands below.
sudo nano /etc/apache2/conf-enabled/phpmyadmin.conf
Then add the highlighted line below…. Save the file and exit.
# phpMyAdmin default Apache configuration
Alias /phpmyadmin /usr/share/phpmyadmin

<Directory /usr/share/phpmyadmin>
    Options FollowSymLinks
    DirectoryIndex index.php
    AllowOverride All

    <IfModule mod_php.c>
        AddType application/x-httpd-php .php
    </IfModule>

    <FilesMatch ".+\.php$">
        SetHandler application/x-httpd-php
...............
...............
Restart Apache2
sudo systemctl restart apache2.service
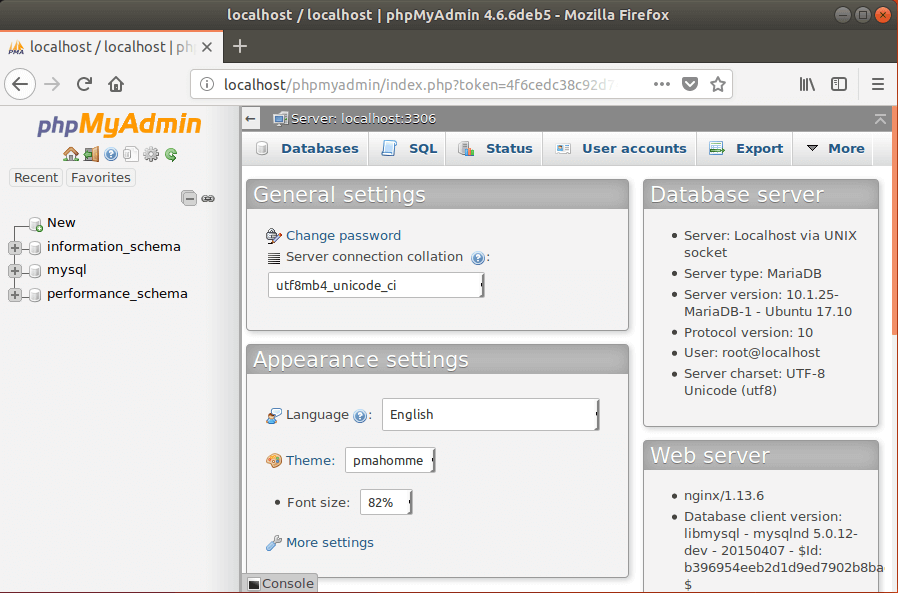
After that, open your browser and go to phpmyadmin logon page..
ex. http://example.com/phpmyadmin/

Logon with MySQL root account you created earlier…
That’s it!
If you get error #1698 – Access denied for user ‘root’@’localhost’ as shown in the image below, then read this post to fix.

Enjoy!
Recent Posts

Grow Your Business Fast: Proven Strategies For Success
November 7, 2024

Why Laravel is Still the Best Framework for Web Development in 2024
November 7, 2024

Top Most Useful CMS Tools For Creating Websites
September 12, 2024